The Groups table contains all groups that are used to unite users by a common purpose or to classify them by specific attributes set by the administrator.
Groups are used to assign roles to multiple users at once.
Create a group
Groups store user records together. It provides applying actions performed on groups to all its members automatically.
Role required: admin.
To create a group, follow the steps below:
- Navigate to User Administration → Groups.
- Click New and fill in the form fields.
- Click Save or Save and exit to apply the changes.
To specify a system access to group users, assign roles to a group.
Group form fields
Field | Mandatory | Description |
|---|---|---|
Name | Y | Specify the group name. |
Description | N | Type detailed information about the user group. |
Responsible | N | Assign a responsible person to the group. |
| Related Lists | |
|---|---|
User Group | A list of users assigned to this group. |
Group Contains | A list of user groups related to this one. The roles assigned to the group created is inherited by these subgroups. |
Role Group | A list of roles assigned to the group. |
Specify a group role
A role granted to a group determines the level of access to the SimpleOne system features for all members of this group. Subgroups specified in the Group Contains tab inherit the current group roles.
See Role Inheritance and learn more about their behavior when deleting or changing roles and groups.
Role required: security_admin.
To assign a role to a user group, follow the steps below:
- Open the group record form.
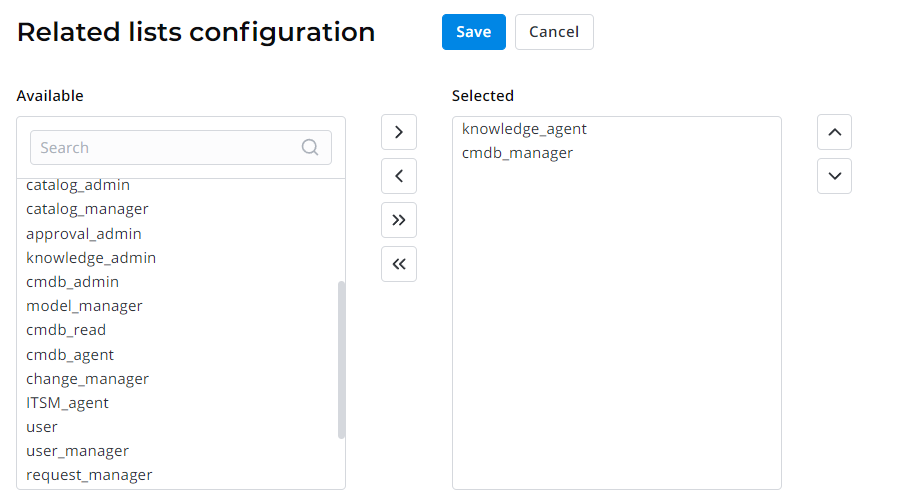
- In the Related Lists area, select the Role Group tab and click Edit.
- In the heapselect form, move necessary roles from the Available box to Selected.
- Click Save to apply the changes and leave the form.
Role required: admin
Combining users into one group makes it easier to provide access to any set of resources. You can grant access to a group and add a user to the group instead of giving access to a number of users.
It also allows you to implement access control between users depending on their tasks and responsibilities.
To add a user to a group, complete the steps below:
- Navigate to User Administration → Groups.
- Find and open the group record you need.
- In the Related Lists are, select the User Group tab and click Edit.
- In the heapselect form, move necessary users from the Available box to Selected.
- Click Save to apply the changes and leave the form.
