In SimpleOne, you can customize your instance by adding company logo, favicon, background image, etc.
| Tip |
|---|
Role required: admin. |
Portal and instance customization includes the following elements:
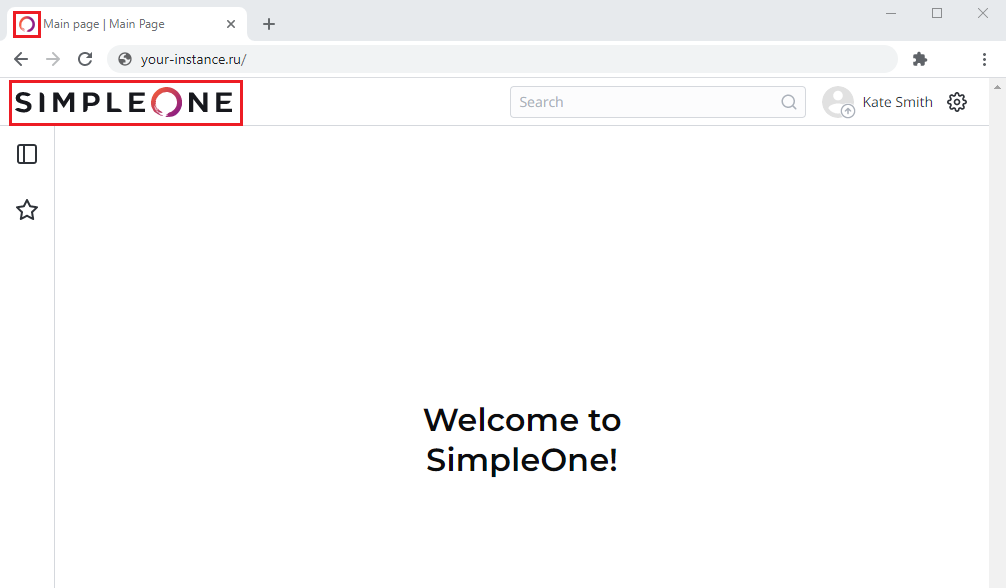
- Instance logo and favicon
- Instance page title
- Default timezone
- Default language
- Authorization page settings
- Portal logo and favicon
- Portal background image
Instance branding
Instance logo and favicon Anchor instance logo and favicon instance
logo and faviconInstance | instance logo and favicon | |
| instance |
logo and favicon
| logo and favicon |
Use the ui.branding.logo and ui.branding.favicon properties to set the logo and the favicon of your instance.
To set an image as instance's logo, favicon, perform the following steps:
- Navigate to System Properties → All.
- Find the property record you need using the list search boxes or the Condition Builder and open it.
- Click the attachments icon
 and upload an image.
 Click Save or Save and Exit to apply changes.
- Navigate to Attachments → Attachments.
Copy the attachment's ID as shown in the screenshot below.
Section 
- Go back to the property record you are editing and paste the attachment's ID into the Value field.
- Click Save or Save and Exit to apply changes.
Instance page title Anchor instance page title instance page title
| instance page title | |
| instance page title |
You can customize the page title of your instance using the ui.branding.pageTitle property.

To do that, perform the following steps:
- Navigate to System Properties → All.
- Find the ui.branding.pageTitle property record using the list search boxes or the Condition Builder and open it.
- In the Value field, enter the text you need.
- Click Save or Save and Exit to apply changes.
Instance timezone Anchor instance default timezone instance default timezone
| instance default timezone | |
| instance default timezone |
Timezone specified in the user.timezone.default property will be default for users. A user can change the timezone in the Preferences menu.
To set the system default timezone, perform the following steps:
- Navigate to System Properties → All.
- Find the user.timezone.default property record using the list search boxes or the Condition Builder and open it.
- In the Value field, enter the timezone name as it specified in the Timezone (sys_timezone) table.
- Click Save or Save and Exit to apply changes.
See the Timezones article to learn more.
Instance language
| Anchor | ||||
|---|---|---|---|---|
|
The language defined in the user.language.default property sets the system default language. The Login page and a new user's locale will be in the defined language.
To set the system default language, perform the following steps:
- Navigate to System Properties → All.
- Find the user.language.default property record using the list search boxes or the Condition Builder and open it.
- In the Value field, enter the language name as it specified in the Language (sys_language) table.
- Click Save or Save and Exit to apply changes.
Authorization page configuration Anchor authorization page configuration authorization page configuration
| authorization page configuration | |
| authorization page configuration |
In the page_access.redirect_url property, specify the path to the page to which an unauthorized user will be redirected.
To do that, perform the following steps:
- Navigate to System Properties → All.
- Find the page_access.redirect_url property record using the list search boxes or the Condition Builder and open it.
- In the Value field, enter the path to the page you need (for example, "/portal").
- Click Save or Save and Exit to apply changes.
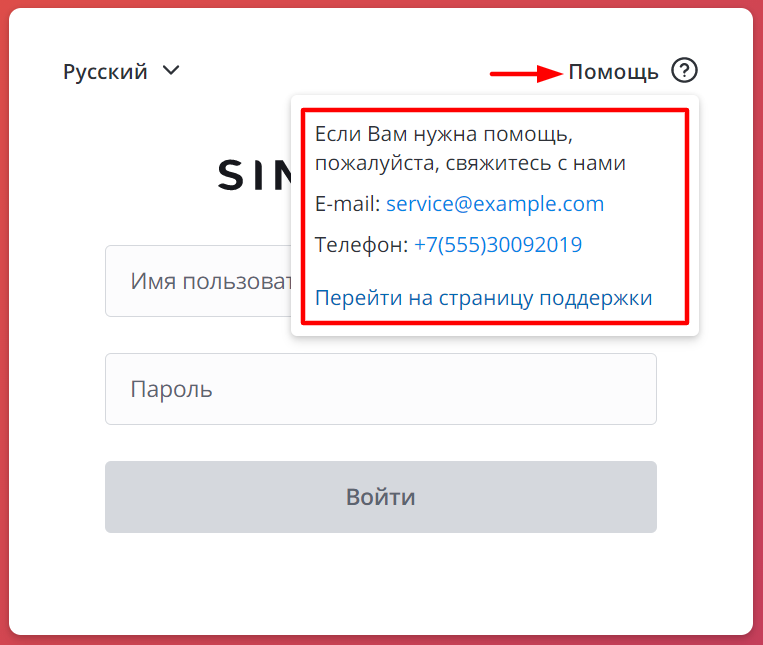
The simple.auth_page.help_info.en and simple.auth_page.help_info.ru properties define the text of the Help message on the Login page as in the example below:

To specify the text of the Help message, perform the following steps:
- Navigate to System Properties → All.
- Find the property record you need using the list search boxes or the Condition Builder and open it.
- In the Value field, enter the text using the HTML elements.
- Click Save or Save and Exit to apply changes.
Example:
<p>If you need help, please contact us</p><p>E-mail: <a href="mailto:service@example.com">service@example.com</a></p><p>Phone: <a href="tel:+7(555)30092019">+7(555)30092019</a></p><p><a href="https://simpleone.ru/">Go to support page</a></p>
Portal branding
Portal logo and favicon Anchor portal logo and favicon portal logo and favicon
| portal logo and favicon | |
| portal logo and favicon |
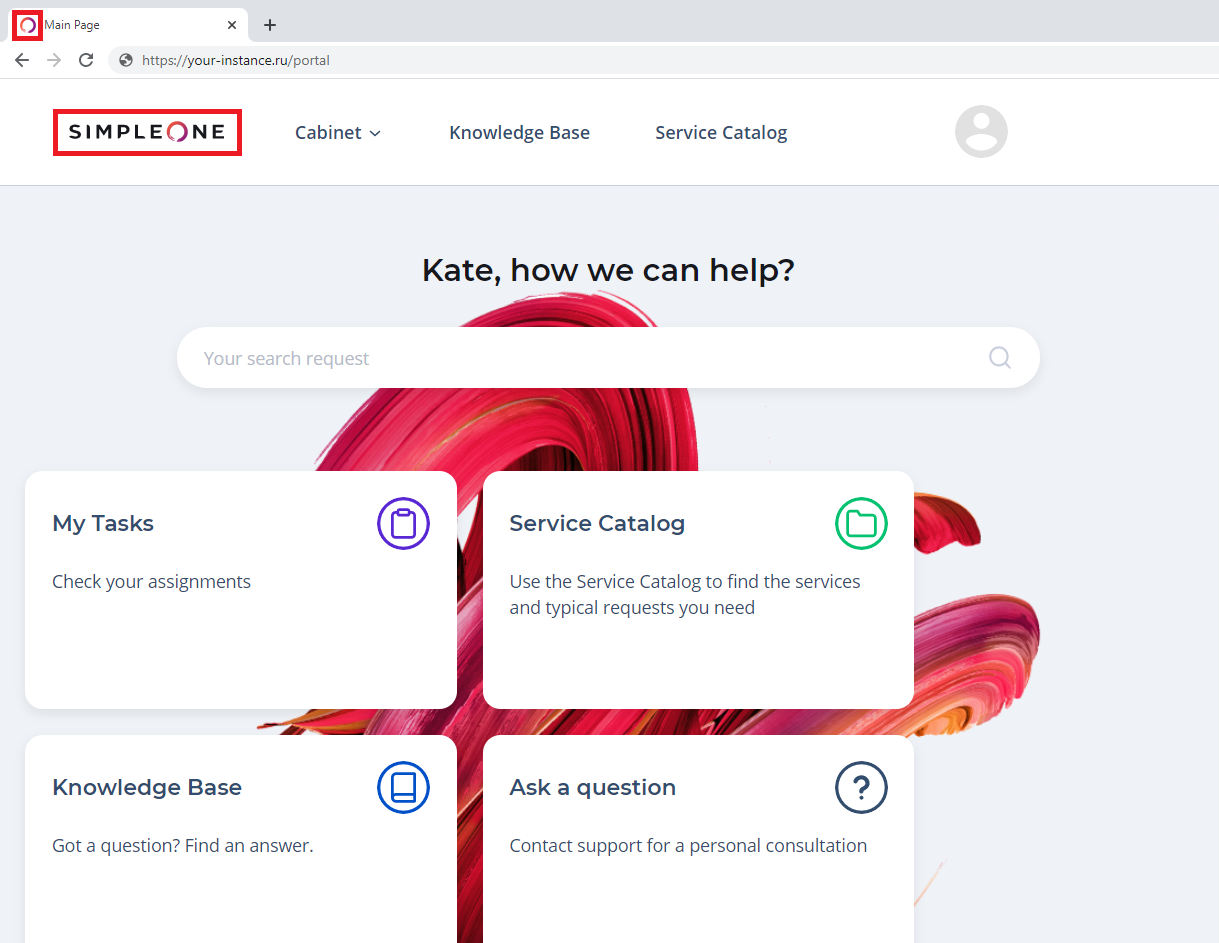
To define the portal logo or favicon, perform the following steps:
- Navigate to Portal Structure → Portals.
- Find the portal record you need using the list search boxes or the Condition Builder and open it.
Click the attachments icon
in the Logo or Favicon field and upload the file.- Click Save or Save and Exit to apply changes.
Background image Anchor portal background image portal background image
| portal background image | |
| portal background image |
To define the background image on the portal page, perform the following steps:
- Navigate to Portal Structure → Pages.
- Find the page record you need using the list search boxes or the Condition Builder and open it.
- Scroll down to the Related Lists area and open the Page Container tab.
- Click the attachments icon in the Background Image field and upload the file you need.
- Click Save or Save and Exit to apply changes.
| Tip |
|---|
Recommended image width: 1900 px. Image height depends on the number and size of elements on the page. |
| Table of Contents | ||
|---|---|---|
|