In SimpleOne, you can implement engines that handle different business tasks. To be able to configure all implemented engines via a common interface rather than separate configurations, an engine management system – SimpleEngine was developed. Its main ability is to flexibly manage the engine configuration.
SimpleEngine features
When you set up your engines, you need to specify the target tables for the relevant engine, or to limit the tables for the specified engines. For example:
- The Following Engine should be enabled in the Incident, Change Request, Problem, Request tables.
- The Auto Assignment engine should be enabled in the Absences table and others.
To configure an engine within the SimpleEngine system, complete the following steps:
- Create a new record of the engine.
- Create necessary options for this engine.
- Specify the general option values.
- Specify the option values relevant for the table(s) to be processed by this engine.
- The engine is automatically enabled on the table specified in step 4.
Create an engine
Create records that accumulate all information about the engine configuration on the instance.
To create an engine record, complete the steps below:
- Navigate to Engines → Engines.
- Click New and fill in the Name and Description fields.
- Click Save or Save and exit to apply the changes.
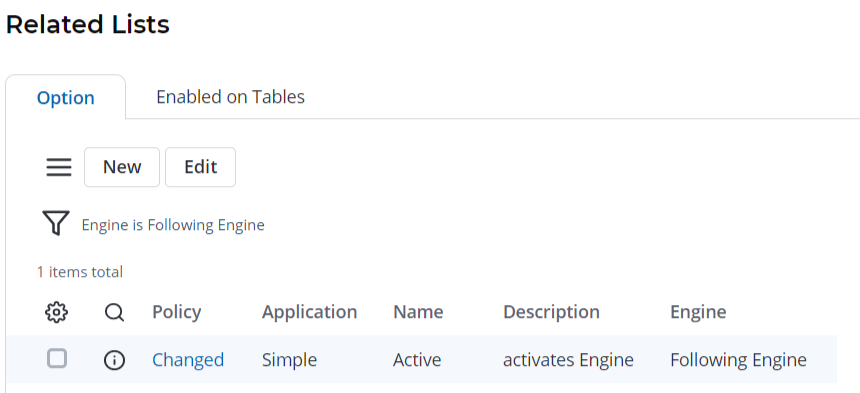
Once an engine is created, add a related option to it or specify the tables in the Related Lists area for which this engine should be enabled.

Create an option
Specify options for the engines created. To create a new engine option, complete the steps below:
- Navigate to Engines → Options.
- Click New and fill in the Name, Engine, and Description fields.
- Click Save or Save and exit to apply the changes.
Option Values
Define values for the engine options created in the system. To create a new engine option value, complete the steps below:
- Navigate to Engines → Option Values.
- Click New and fill in the Option and Value.
- Click Save or Save and exit to apply the changes.
Option Values for Tables
To specify option values for the specified tables, complete the steps below:
- Navigate to Engines → Values for Tables.
- Click New and fill in the Table and Option value fields.
- Click Save or Save and exit to apply the changes.