SLA Indication widget visualizes time left till the closest nearest SLA deadlineBreach Time. When the SLA indicators are set and the start conditions are met, the widgets displays countdown of relevant indications for the record. For example, the Incident table has an indicator which starts when the incident record is registered assigned to the Support team and ends when the work on the incident is completed. That is, so the visualized indication will count start counting down the time until the incident is in the Completed statefrom the moment when the selected Assigned Group is Support, the indication will end when the State value is Completed.
Widget
Appearanceappearance
Widget consists of the following elements:
- Progress bar indicating time passed.
- Counter
- indicating the business time passed after the SLA breached (expired indication)
- indicating the business time left until the SLA breaches (until deadline, not yet expired)
- Wheel with complete percentage.
- Time counter.
- Title of the SLA Indicator.
Time till the closest of indicatorsnearest of indication breach time (deadline).
Info If the record has expired a breached SLA indication, this line the widget will display the date and time of the expired indication .

until it is completed or canceled. Deadlines of other indications will be ignored. In the screenshot below, the indication named Workaround is expired, so in this line you see the elapsed time.

The red color indicates that the SLA indication has breached and some time passed since then
.
- The blue color
defines - indicates that the SLA
indicator - indication has started and some time has passed but the indication has not breached yet
finished- .
- The grey color
defines - indicates that the
conditions for the - SLA
indicator has not been met yet- indication has just started (recently).
The red color defines that the SLA indication is expired.
| Info |
|---|
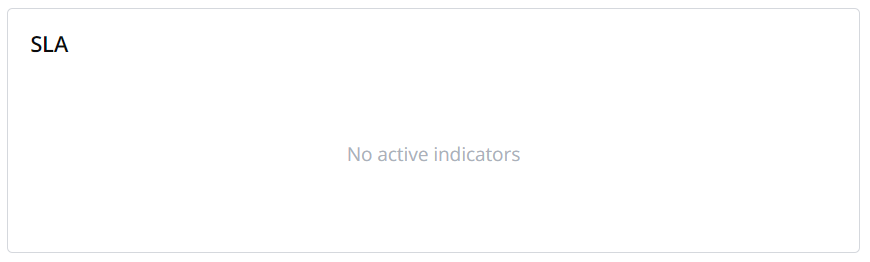
The widget is empty until the record has relevant indications.
|
Displayed information
Only relevant indications are displayed. Indications are created automatically when the start conditions of an active indicator are met.
See the Indicators article to learn more.
Completed and canceled indications are not displayed.
Indications are displayed in ascending order from left to right: the
closest deadlinenearest breach time is on the left
.Completed indicators are not displayed.
Total number of displayed indications is three. If there are more than three indications, the rest of them will be displayed
whenafter the
othersdisplayed ones are completed or canceled.
If the percentage count of
an expireda breached indication is over 999%, the counter displays ...%
| Info |
|---|
The widget is empty until Start Conditions are met.
|
Setting up the widget
SLA Indication widget can be added to the tables extended from the ITSM Task table. By default, they are not displayed on the form.
For displaying data about SLA deadlinesbreach time, the following configurations should be taken:
Adding widget Anchor adding widget adding widget
| adding widget | |
| adding widget |
To add the widget to a form, complete the following steps:
- Open the form you want to add a widget to.
- In the hamburger menu, select Configure → Form → Layout.
- Move the SLA indications widget from the Available box to the the Selected box box.
- Click Save to apply changes.
| Info |
|---|
See the Add widgets to a form article to learn more. |
Creating
indicatorsindicators
| Anchor | ||||
|---|---|---|---|---|
|
To set up an indicator, perform the following steps:
- Navigate to Service Level Management → Indicator.
- Click New and fill in the fields.
Select the Active checkbox to enable the indicator.
Tip Make sure that the cancelation conditions are set correctly: if the specified conditions are met, the indication will be canceled and the widget will not display it.
- Click Save or Save and Exit to apply changes.
When the Start Conditions are met, a new record is created automatically in the Indication table by the system and the SLA indication widget starts displaying the indication.
| Info |
|---|
See the Indicator article to learn more. |
| Table of Contents | ||||||
|---|---|---|---|---|---|---|
|